Showing posts with label Pumpkins. Show all posts

Sunday, September 27, 2020

Ivy Beanie & Pumpkins...

Getting back to my crocheting recently, I came across a couple of projects I'd started a long time ago...  I have no idea when.  The time was right so I set myself down to work on them this past week.

I was really glad to see this Ivy Beanie finished, but it's too small for the average adult, I think. Or maybe I just have a big noggin.  I imagine it would fit a preteen or maybe a small adult:


Then again, it could have been off-size because I made it a little differently than the designer did. The designer's instructions were to make the body of the hat first, then create the ribbing - attaching it as you make it.   But I  love the hats that Whistle & Ivy makes and how she creates the ribbing, then grows the hat from there.  So, I made a ribbing that would accommodate the 60 stitches that began the body and worked the hat up from that starting point.   It's a super easy pattern, though I couldn't make heads or tails of the designer's instructions for finishing off the top.  Fortunately, it's not difficult to cinch in a hat after you've made one or two.  And while I'm not intending to give this hat one, a pom pom would sit atop it very nicely.

I really don't mean to make it sound like I didn't like the pattern. My main reason for writing all I did above is to offer a disclaimer in case someone else makes this and wonders why they ended up with a hat that fit their big head when I didn't.  It could have just been the way I made it.  

All of that said, I love the stitch pattern.  It's very clever, and I think it makes a nice hat.  I'll be looking for a head to fit it soon.  😎

~~~~~

And then I pulled out a half-finished crocheted pumpkin I think I might have started two years ago and finally whipped that baby together and then promptly started another: 

I plan to make a few before I attach button stems to them all.

There are numerous free patterns online for making crocheted pumpkins, but here are some to get you started:

Similar crochet pattern here, video tutorials here and here.
Different type of crochet pattern here

Things I do differently from the patterns and tutorials above:  1)  I use a size G hook with worsted weight yarn.  If I use smaller yarn, I use a a hook about 2 sizes smaller than what is called for on the yarn label.  2)  I begin with a magic loop, and 3) I keep a marker on my first stitch of each round and simply crochet in a spiral (this eliminates a join line).  Once you make one or two, you'll probably see how you can make these various sizes.  I'll explain that in next Sunday's post where I'll (hopefully) have some different sized finished pumpkins to show you.

~~~~~

And lastly,  I 've been giving it thought and I've decided to try another month-long 30-Day Minimalism Challenge beginning on October 1st.

If you're curious, here's a video explaining it:


I'm still undecided if I will post daily, but I will plan to take daily pictures for sure.  It was greatly motivating last year when I did this, and part of the motivation was posting a daily progress picture. So we'll see.  It was surprisingly easy for me to successfully complete this challenge last year.  And we've certainly brought stuff into our house this summer that needs a good sorting; whether it's our own old stuff, or our recently acquired old stuff, some things have got to go!

Anyone want to join me?   This doesn't need much planning or forethought.  One will need to have a place to donate or otherwise take decluttered items to, so if your thrift stores are closed, this might not be the time for you, but seriously...  all it takes to begin is the desire.  The motivation will come with the doing.  Or not, possibly.  If motivation doesn't last, there's no harm in having tried.  And there's space in one's home to reclaim for any effort at all.  Let me know in the comment section if you'd like to do this and blog about it. I would love to follow your progress and cheer you on.  👍  


Monday, September 26, 2016

It's almost pumpkin time!

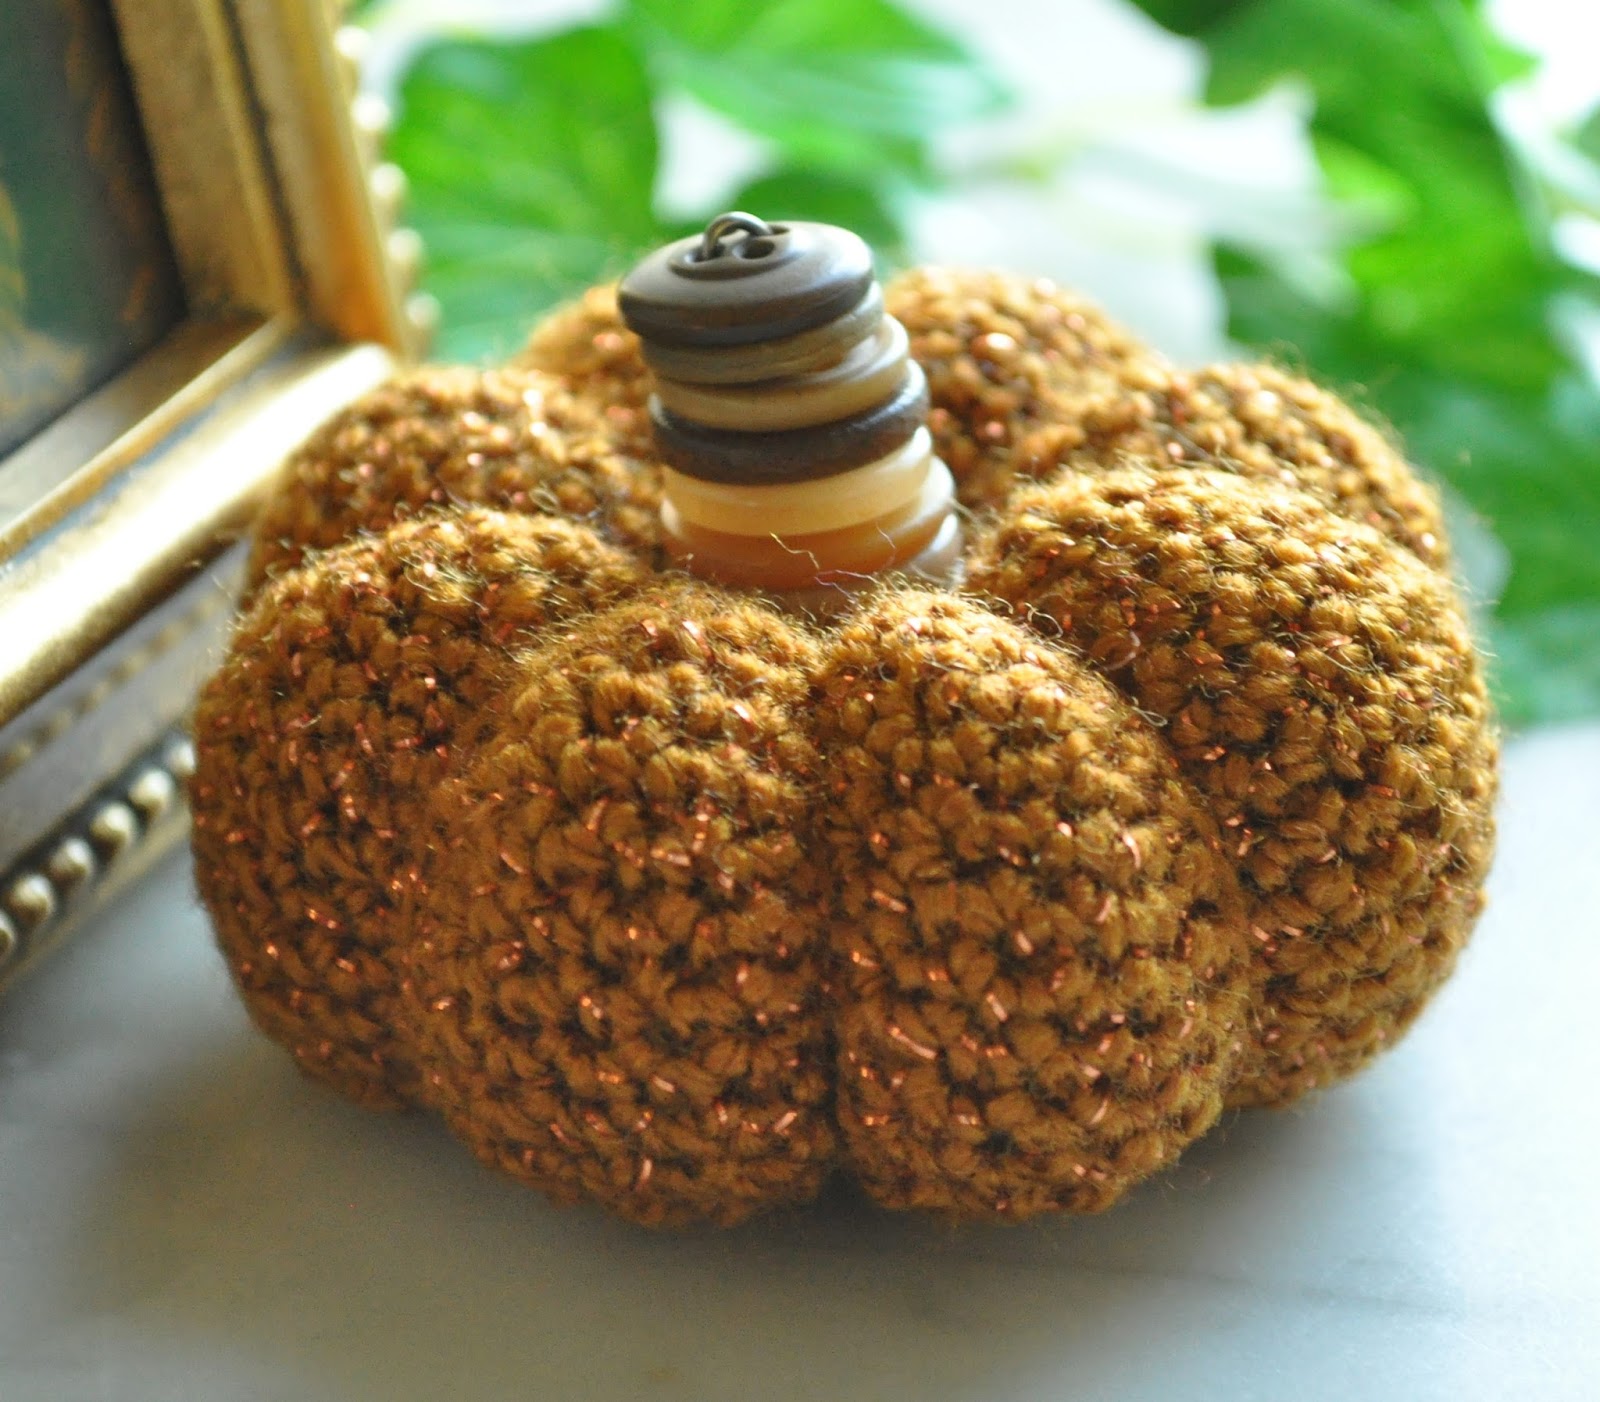
Today's post is short and sweet as this small project was all I could muster after a week of dealing with vertigo again.    I get these episodes very infrequently, but when I do they really mess with me.  Today, I'm feeling nearly symptom-free and it was so good to pick up my crochet hook and whip out this little cutie:


Every fall I get the urge to make some of these and today I pulled aside some new yarns to play with as I make some more.   I think it will be a fun thing to do tonight as I watch the presidential debate.  I wouldn't think of not watching the debate,  but I have a feeling I'll need something to keep me sane as I do.   The pumpkin above is made with Vanna's Glamour in the color Bronze.  It has some sparkly specks in it which just made it even more fun to make.  The yarn is a thin worsted, and crocheted with a size F crochet hook this little mini pumpkin measures just 2 inches in diameter and 1 3/4 inches tall - from bottom to top of stem.  I know - it looks a lot bigger than that in the picture, doesn't it.  ;^)

If you're interested in how I made the button stem, I wrote a tutorial last year that you can find here.

To see what other Yoppers are up to, visit this week's thread on Ravelry!


Sunday, October 18, 2015

How to make a button stem for your yarny pumpkin...

After making several of these sweet little things:

...it struck me that a bunch of these would make a super cute centerpiece for Thanksgiving dinner and fun little take-home gifts for anyone who might want one.   So, of course, I had to share my moment of inspiration here in my weekly Year of Projects post.  And since so many liked my button pumpkin stems on Wednesday, I thought I'd show step-by-step how to do it.

Using this pattern, a miniature pumpkin takes me just under an hour to make.  And the button stem took just a few minutes once I pulled all the materials together (wire, wire cutters, needle nose pliers, and a bunch of old buttons that I had previously cleaned and sorted by color). 


Select enough buttons to make a stem as long as you want it.  You'll want graduated sizes, and I like to use a variety of complimentary colors and materials (I used wood, plastic and even metal buttons).  Once you've picked out your buttons, stack them from largest to smallest.

As you stack them, they'll flop over on top of your pumpkin, but having them in order is important before you begin stringing them onto the wire.

Cut your wire about twice as long as you think you'll need:
I used 20 gauge wire.   You might be able to use thicker wire, but I don't think thinner wire will work.  You need a wire that is thin enough to thread onto the buttons, but thick (and strong) enough to allow you to push it through the pumpkin. I found 20 gauge wire flexible, but with just enough body for this purpose.   And 20 gauge is what I had on hand.  I almost always try what I have on hand before buying something else.

"Fold" the wire in half (make this a soft fold, or a curve - as opposed to a sharp fold). Trim one side of the wire shorter (it took me several fiddly attempts before this little idea occurred to me.  Do it. It will make it easier to thread buttons onto the wire):

Starting with the smallest button, thread it onto the longest wire end first, then pull the button down, slipping it onto the shorter end of the wire (through the opposite button hole), all the way to the "fold" of the wire.  Pull the wire tight:


Don't try to thread more than one button at a time.  If you thread more than one at a time,  you won't be able to see the button holes and you'll likely thread the buttons on crooked.  You always want to thread the buttons onto the wire through opposite button holes (this is important to pay attention to if your buttons have 4 holes).  Your stack of buttons should look like this:


To make pushing the wire through the pumpkin easier, cut both ends of the wire on the diagonal, making a point:


Decide which side of the pumpkin you want to be the top and push both ends of the wire into the center of the top all the way through the bottom. 


The wire ends will not likely come through the same place on the bottom.  Not to worry.  While you want them to be close to the center (and close together), it's fine (maybe better) if they don't both come through the center hole.


From the bottom, pull tight and twist the wires together by hand (this doesn't have to be perfect - just tighten and twist the wires together as best as you can by hand, making sure the buttons are snugged together on the other side of the pumpkin).  You'll want an inch or so of twist.  Trim the excess wire off.


Now, with a needle-nose plier twist the hand-twisted wire into a small circle and push the sharp edges of the wire up into the pumpkin:


And that's it!   Do this over and over again, with a variety of yarns and buttons, and soon you'll have a heap of pumpkins!

Just a few more and I'll be ready for Thanksgiving! 

To see what other Yoppers are up to this week, visit our thread on Ravelry.  


http://www.ravelry.com/discuss/a-year-of-projects/3300857/1-25#2


Wednesday, October 14, 2015

Pumpkin Season...

I've been fixated on pumpkins lately.  I've yet to buy a real one this fall, but I'm happily crocheting yarny ones.  And this week I'm enjoying reading a cozy mystery, Basket Case by Nancy Haddock.  Autumn seems like the perfect time to read cozies, for some reason.


The yarn I'm using above is Vanna's Choice in Tangerine Mist.  I found a lone skein of this color on clearance recently and it was so inexpensive I couldn't not buy it.  Didn't know what I was going to use it for, but as pumpkin season rolled around I realized it would be perfect for this project.

Using my favorite, fail-proof small pumpkin pattern, I love making various sizes and colors of these pumpkins.  For giving and decorating.  You can increase the pumpkin size by either (or both) changing up the hook, and/or adding or decreasing the number of increase and decrease rows.  


They can be made taller by adding more (I'll call them static) rows in the middle (these rows are just straight single crochet all the way around with no increase or decrease stitches - they give the pumpkin its height).

While I enjoy seeing how different people finish their crocheted pumpkins off, my favorite way is to make a button stem.   I have  a lot of old buttons that are perfect for this.  After wiring a stem of buttons together I just stick the wire ends through the center of the pumpkin and twist the ends together, tucking any sharp edges up into the fabric to finish it off.   See my button stem tutorial here.

A simple crochet project that's fun and satisfying.  Visit Ginny's Yarn Along to see what other knitters and crocheters are making and reading this week.


http://www.gsheller.com/2015/10/yarn-along-249.html